
Landscape photography captures the beauty of the natural world. Filters are essential tools in this genre, allowing photographers to enhance their images in ways that are not always possible in post-processing. Using filters can significantly improve your photos' dynamic range and clarity by reducing glare and enhancing colours. Different filters bring various creative possibilities to landscape photography. I always use NiSi Filters as I am very fussy with the quality of the filters and cheap nasty filters can leave terrible vignettes and colour casts on your images.
If you’d like to learn more about using filters here are a couple of YouTube videos you can check out Instructional Videos
Types of Filters and Their Purposes
Polarising Filter:

A polarising filter is one of my most used filters. It reduces reflections and glare from water or shiny objects and is useful for those green scenes to really bring out those beautiful rich green tones. It can also darken the sky, making colours more vibrant.
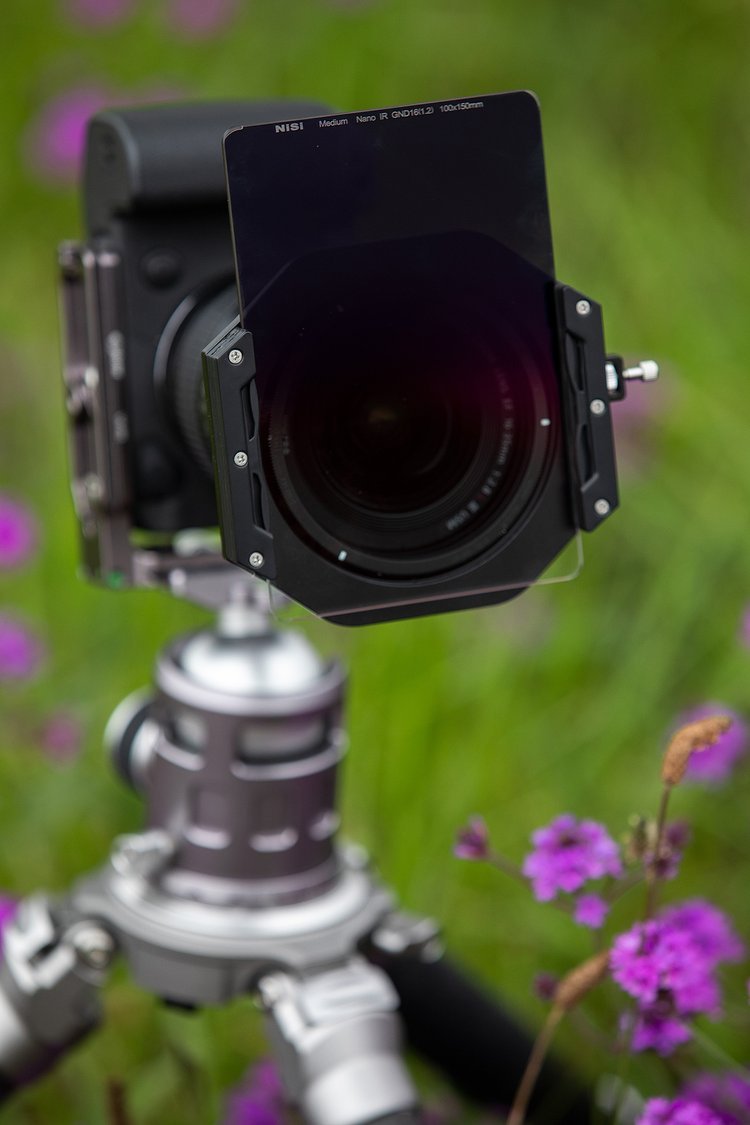
Neutral Density (ND) Filter:
ND filters reduce the amount of light entering the lens. This allows for slower shutter speeds without overexposure. They create soft, blurry water effects and dramatic skies.
These filters darken only part of the image. They balance exposure between the sky and the ground. This is useful for sunrise and sunset shots.
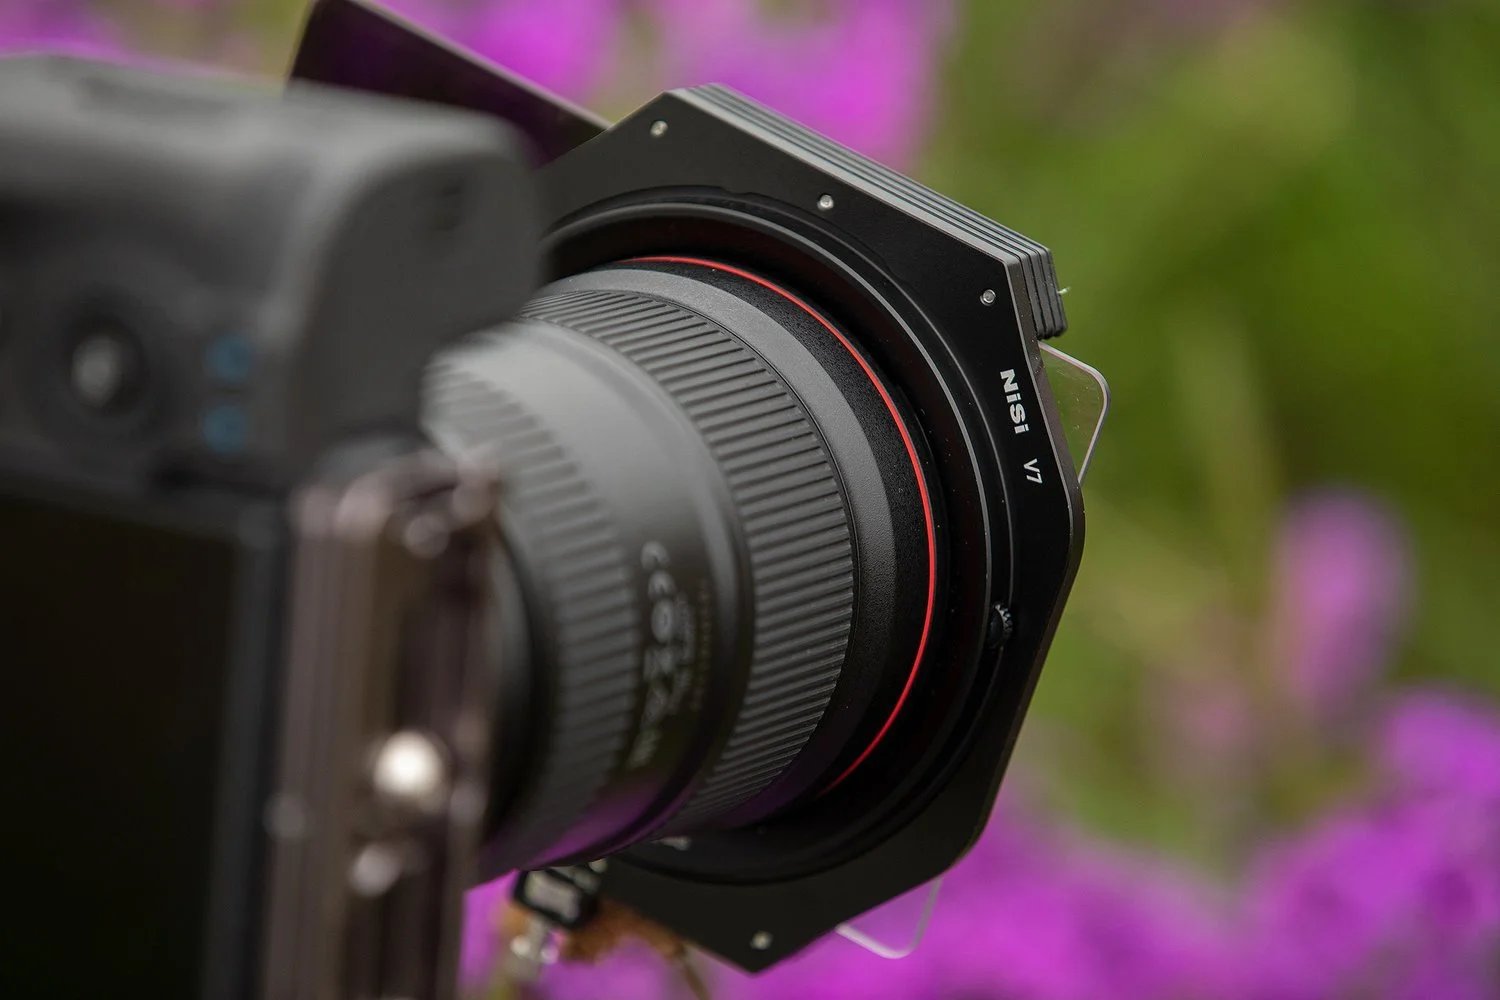
Filter Holder:
A filter holder is used to attach filters to the lens. It allows for multiple filters to be used at once.
Choosing the Right Filter Size and Type
First, determine your lens diameter. This is usually marked on the lens barrel.
Sizing:
Find the filter thread size on your lens. It is often shown in millimetres (e.g., 77mm).
Type Selection:
Consider what you want to achieve. If you photograph water often, a polarising filter is ideal. For long exposures, pick an ND filter. For balancing exposure, use graduated ND filters. Using filters in landscape photography can significantly enhance your images. Proper knowledge of Neutral Density (ND) filters, graduated filters, and correct techniques can improve exposure, manage light, and maximise image quality.
How to Use ND Filters for Controlling Exposure
Neutral Density (ND) filters are essential for controlling exposure, especially in bright conditions. By reducing the light entering the lens, ND filters allow longer exposure times without overexposing your images. This is perfect for creating smooth, flowing effects in moving water.
I usually start by selecting the appropriate ND filter based on the scene. For example, a 3-stop ND filter reduces light by three stops, while a 10-stop filter drastically cuts the light, enabling very long exposure times.
Longer exposure times will create more dramatic long-exposure photos, like silky waterfalls. I always monitor the histogram to ensure proper exposure, making necessary adjustments for the best results. You can download the Nisi app on your phone to help work out exposure times.
Managing Light and Contrast with Graduated Filters
Graduated Neutral Density (GND) filters are perfect for balancing light and contrast in scenes with varying light intensities, like bright skies and darker foregrounds. These filters have a gradual transition from dark to clear, allowing you to reduce light in specific areas while maintaining clarity elsewhere.
I typically use a soft GND filter if I need to balance the dynamic range between the sky and the foreground. Additionally, this type of filter is useful when shooting in conditions with uneven lighting, such as during golden hour, to balance the light effectively.
To use graduated filters effectively, I position the dark section over the brightest part of the scene. This reduces the exposure difference, helping me capture more detail in both the highlights and shadows. Checking the exposure and making necessary adjustments help to achieve contrast-rich images without losing details.
Post-Processing and Filters
Post-processing can enhance your landscape photos significantly, especially when used with filters. Photographers can achieve stunning results by balancing the use of in-camera filters and post-processing techniques.
Balancing In-Camera Filter Effects with Post-Processing
When using in-camera filters, such as polarising filters or neutral density filters, I often aim to set the foundation for the image directly in the camera.
Using Adobe Lightroom or Photoshop, I refine these effects.
Combining these tools allows me to have greater control and flexibility. I start with a solid base from in-camera filters and use post-processing adjustments to perfect my vision for the photo. Keeping this balance ensures I capture the best of both worlds.