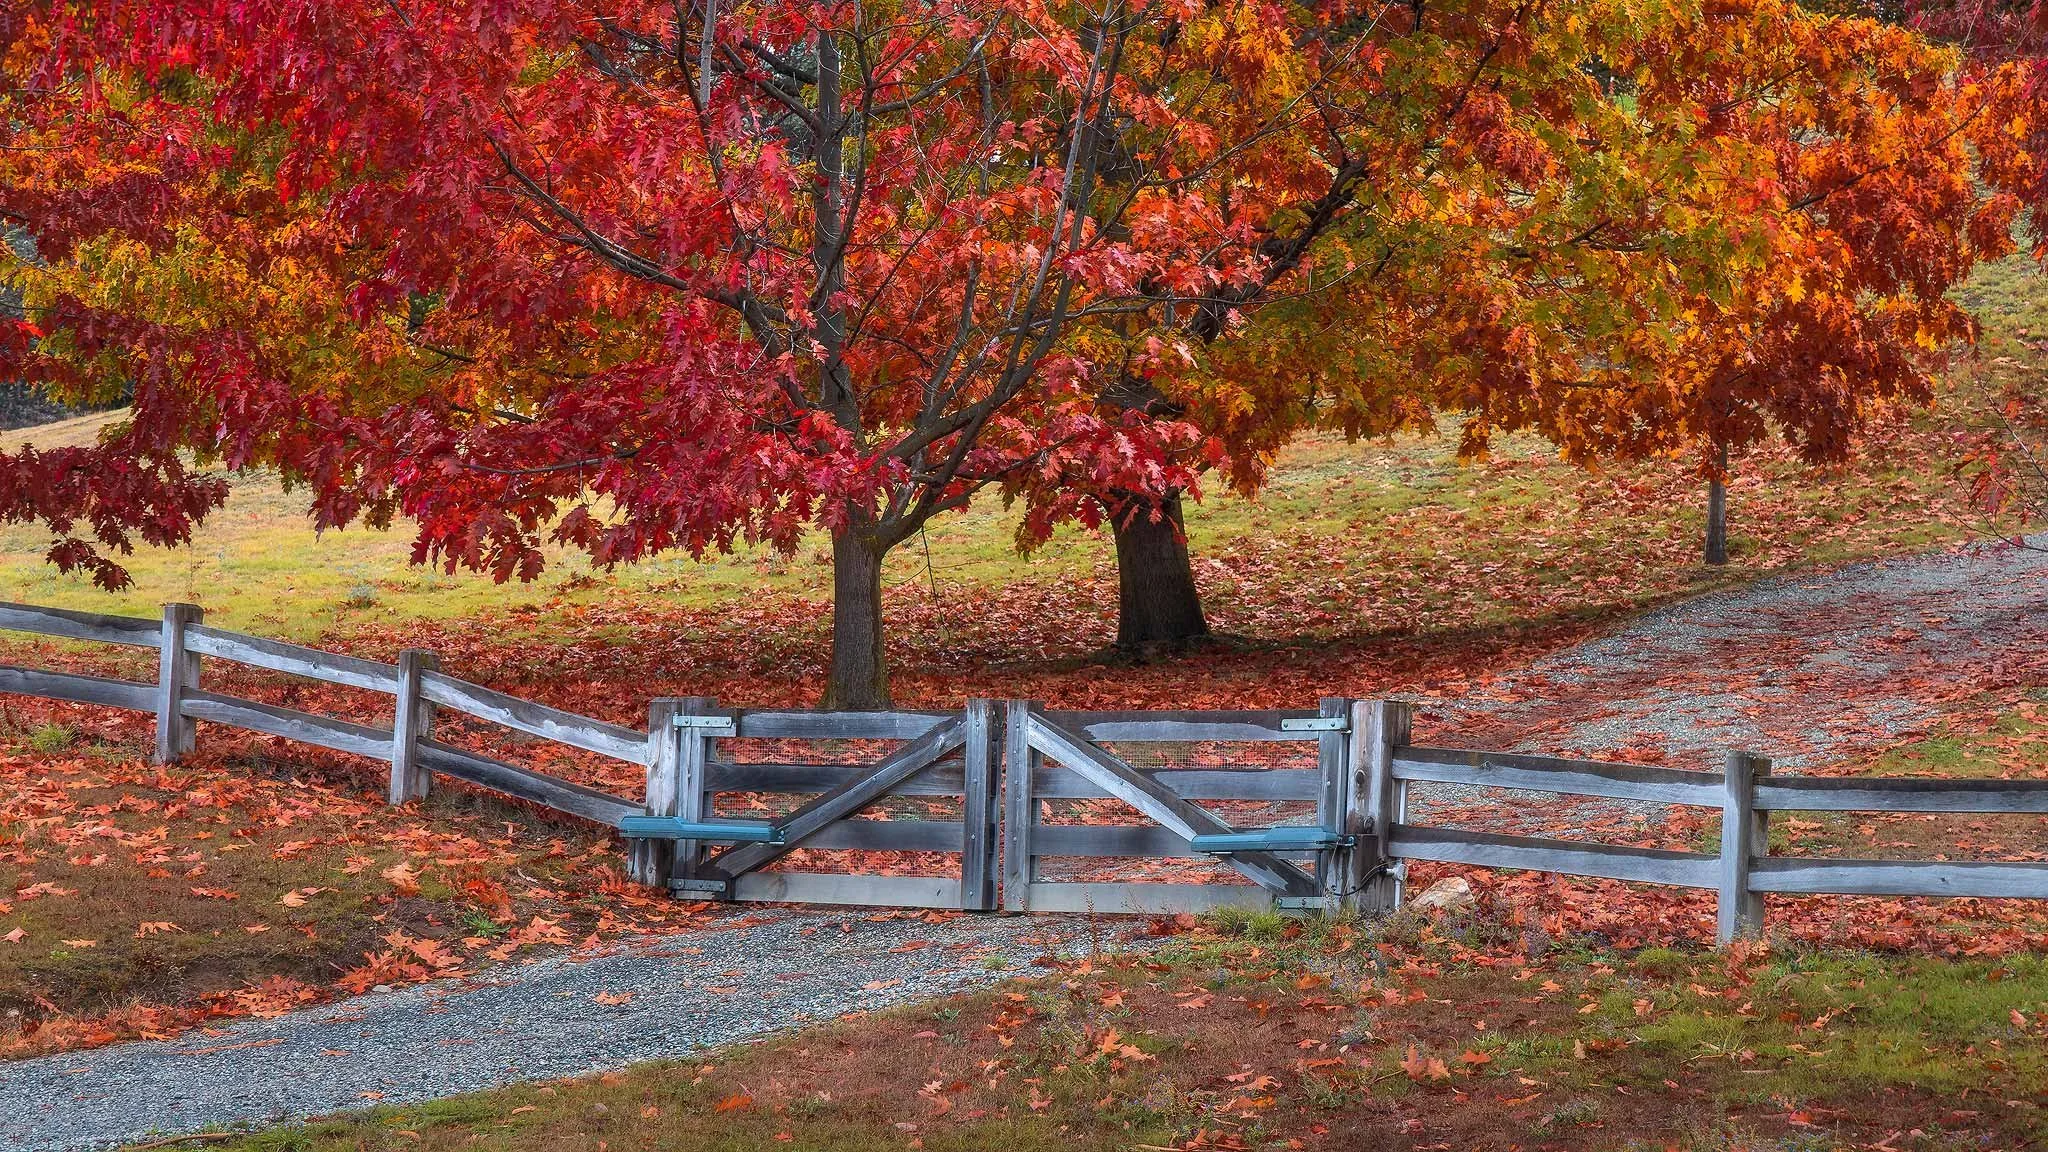
Essential Tips and Techniques
Shooting the majesty of landscapes is an exhilarating experience, yet the journey doesn't end there. Post-processing is essential in creating stunning landscape photos that encapsulate the beauty the way we saw it.
Editing enhances visual appeal, adds contrast, and refines composition, transforming your raw images into captivating works of art.
In my practice, shooting in RAW format provides the highest quality files, ensuring maximum flexibility during the editing phase. This lays a solid foundation for effectively employing powerful tools like Photoshop and Lightroom.
Simple techniques such as exposure, contrast, colour grading & vibrance adjustments, can dramatically elevate the final image.
Incorporating post-processing into your workflow allows for precise enhancements that accentuate the natural beauty of your landscapes & is a key part of landscape photography.
Removing distractions, and fine-tuning details improve the overall look and convey the intended mood and atmosphere.
Through meticulous editing, your photos can achieve perfection that captivates viewers and brings the sublime essence of nature to life.
Mastering the Basics of Landscape Photo Editing
Editing landscape photos involves a methodical approach, focusing on key areas like exposure, highlight & shadow control, white balance, and the overall post-processing workflow. These elements ensure a balanced, aesthetically pleasing outcome to your photos.
Understanding the Post-Processing Workflow
The post-processing workflow in landscape photography primarily involves several key steps.
First, I import my raw files into Adobe Camera RAW, Lightroom &/or Photoshop.
I then fix basic adjustments like exposure, highlights, shadows, white balance, and blacks & whites.
Improving the composition through subtle cropping or straightening the horizon follows.
Each step builds on the preceding one, forming a cohesive workflow that enhances the final image, almost like a painting.
Setting the Correct Exposure
Getting the right exposure is crucial for any landscape photo.
I usually start by examining the histogram in Lightroom or Camera RAW. This graph helps me see if the image is too dark, light, or balanced.
I make fine-tuned changes to ensure no details are lost in overly bright or dark areas.
Sometimes, I use reverse dehaze to remove contrast & accentuate a scene that has mist or fog elements.
Adjusting White Balance for Atmospheric Accuracy
White balance is vital for capturing the right atmosphere in a photo.
The goal is to make the colour palette appear as natural as possible, the way we saw it.
I typically start by using the eyedropper tool in Camera RAW / Lightroom, selecting a neutral tone (50% grey) part of the image for an initial adjustment.
From there, fine-tuning involves tweaking the temperature and tint sliders.
White balance is a very personal thing. For sunsets or sunrise shots, warmer temperature highlights work better. Conversely, cooler settings work well for snowy or wintery landscapes or overcast skies.
An accurate white balance ensures that the image looks true to life, reflecting the conditions initially captured by the photographer.
Advanced Editing Techniques for Landscapes
When editing your landscape photos, various masking techniques can make a dramatic difference in capturing the beauty and essence of a scene. Key methods involve manipulating tone curves, creatively using the brush tool, radial & linear filters, and focusing on “local” adjustments for maximum impact.
Manipulating Light and Colour
For a vivid, punchy look, adjusting light and colour is essential.
I often start by balancing vibrance to intensify natural colours without oversaturating them.
I use the histogram to ensure no details are lost in the highlights or shadows.
Customising luminance and tone settings allows me to refine brightness and contrast, enhancing the image's depth.
The brush tool is excellent for precise dodging and burning, letting me selectively increase brightness & haze in certain areas and darken others, adding a dynamic 3D range to the scene.
Using Filters and Effects Creatively
Filters and effects can transform an average landscape photo into an extraordinary one.
To create a dreamy, soft-focus look, I use an Orton style Effect, which involves making a highlights luminance range mask and applying some reverse clarity.
This effect can make the landscape appear almost mystical.
Additionally, applying sky masks & inverting the sky mask for a foreground mask helps balance the exposure between the sky and the foreground, ensuring a more cohesive image.
Local Adjustments for Impactful Scenery
A global Adjustment Affects the whole image, and a Local Adjustment Affects only certain areas of the image.
Local adjustments can significantly improve specific areas of a landscape photo.
I can target a particular area of the image using the brush tool, such as the foreground for example allowing for precise tonality adjustments.
Dodging (darkening) and burning (brightening) in select spots adds dimension and contrast, making the scene more compelling & three dimentional.
Carefully planned local adjustments are the X-factor in landscape photo editing.
Perfecting Composition and Depth
To perfect composition & depth, I examine the overall balance and leading lines within the scene. I try to guide the viewer's eye to key elements.
It’s a bit like selling real estate, only selling the key elements. Cropping can sometimes help to remove distractions and improve the visual flow.
Depth in a landscape photo can be enhanced by removing contrast from the background, creating a sense of distance.
This method can also make the main foreground subject stand out.
Final Touches for Web or Publication-Ready Photos
Attention to detail is crucial for publication, whether in print or web publishing.
I ensure the image is free of imperfections by correcting any dust spots or imperfections and sharpening the finer details.
Web sharpening adjustments help emphasise textures, micro contrast and intricate elements. It's essential to save the image in the appropriate format.
For web and social media, optimising JPEG settings balance quality and file size.
I use a longest edge size of 2048 pixels & also use the TK Panel Web Sharpener plug-in in photoshop. (Keep an eye on my YouTube channel for more videos explaining this process).
I double-check the image at 100% zoom to ensure no overlooked errors or artefacts before finalising my work.

