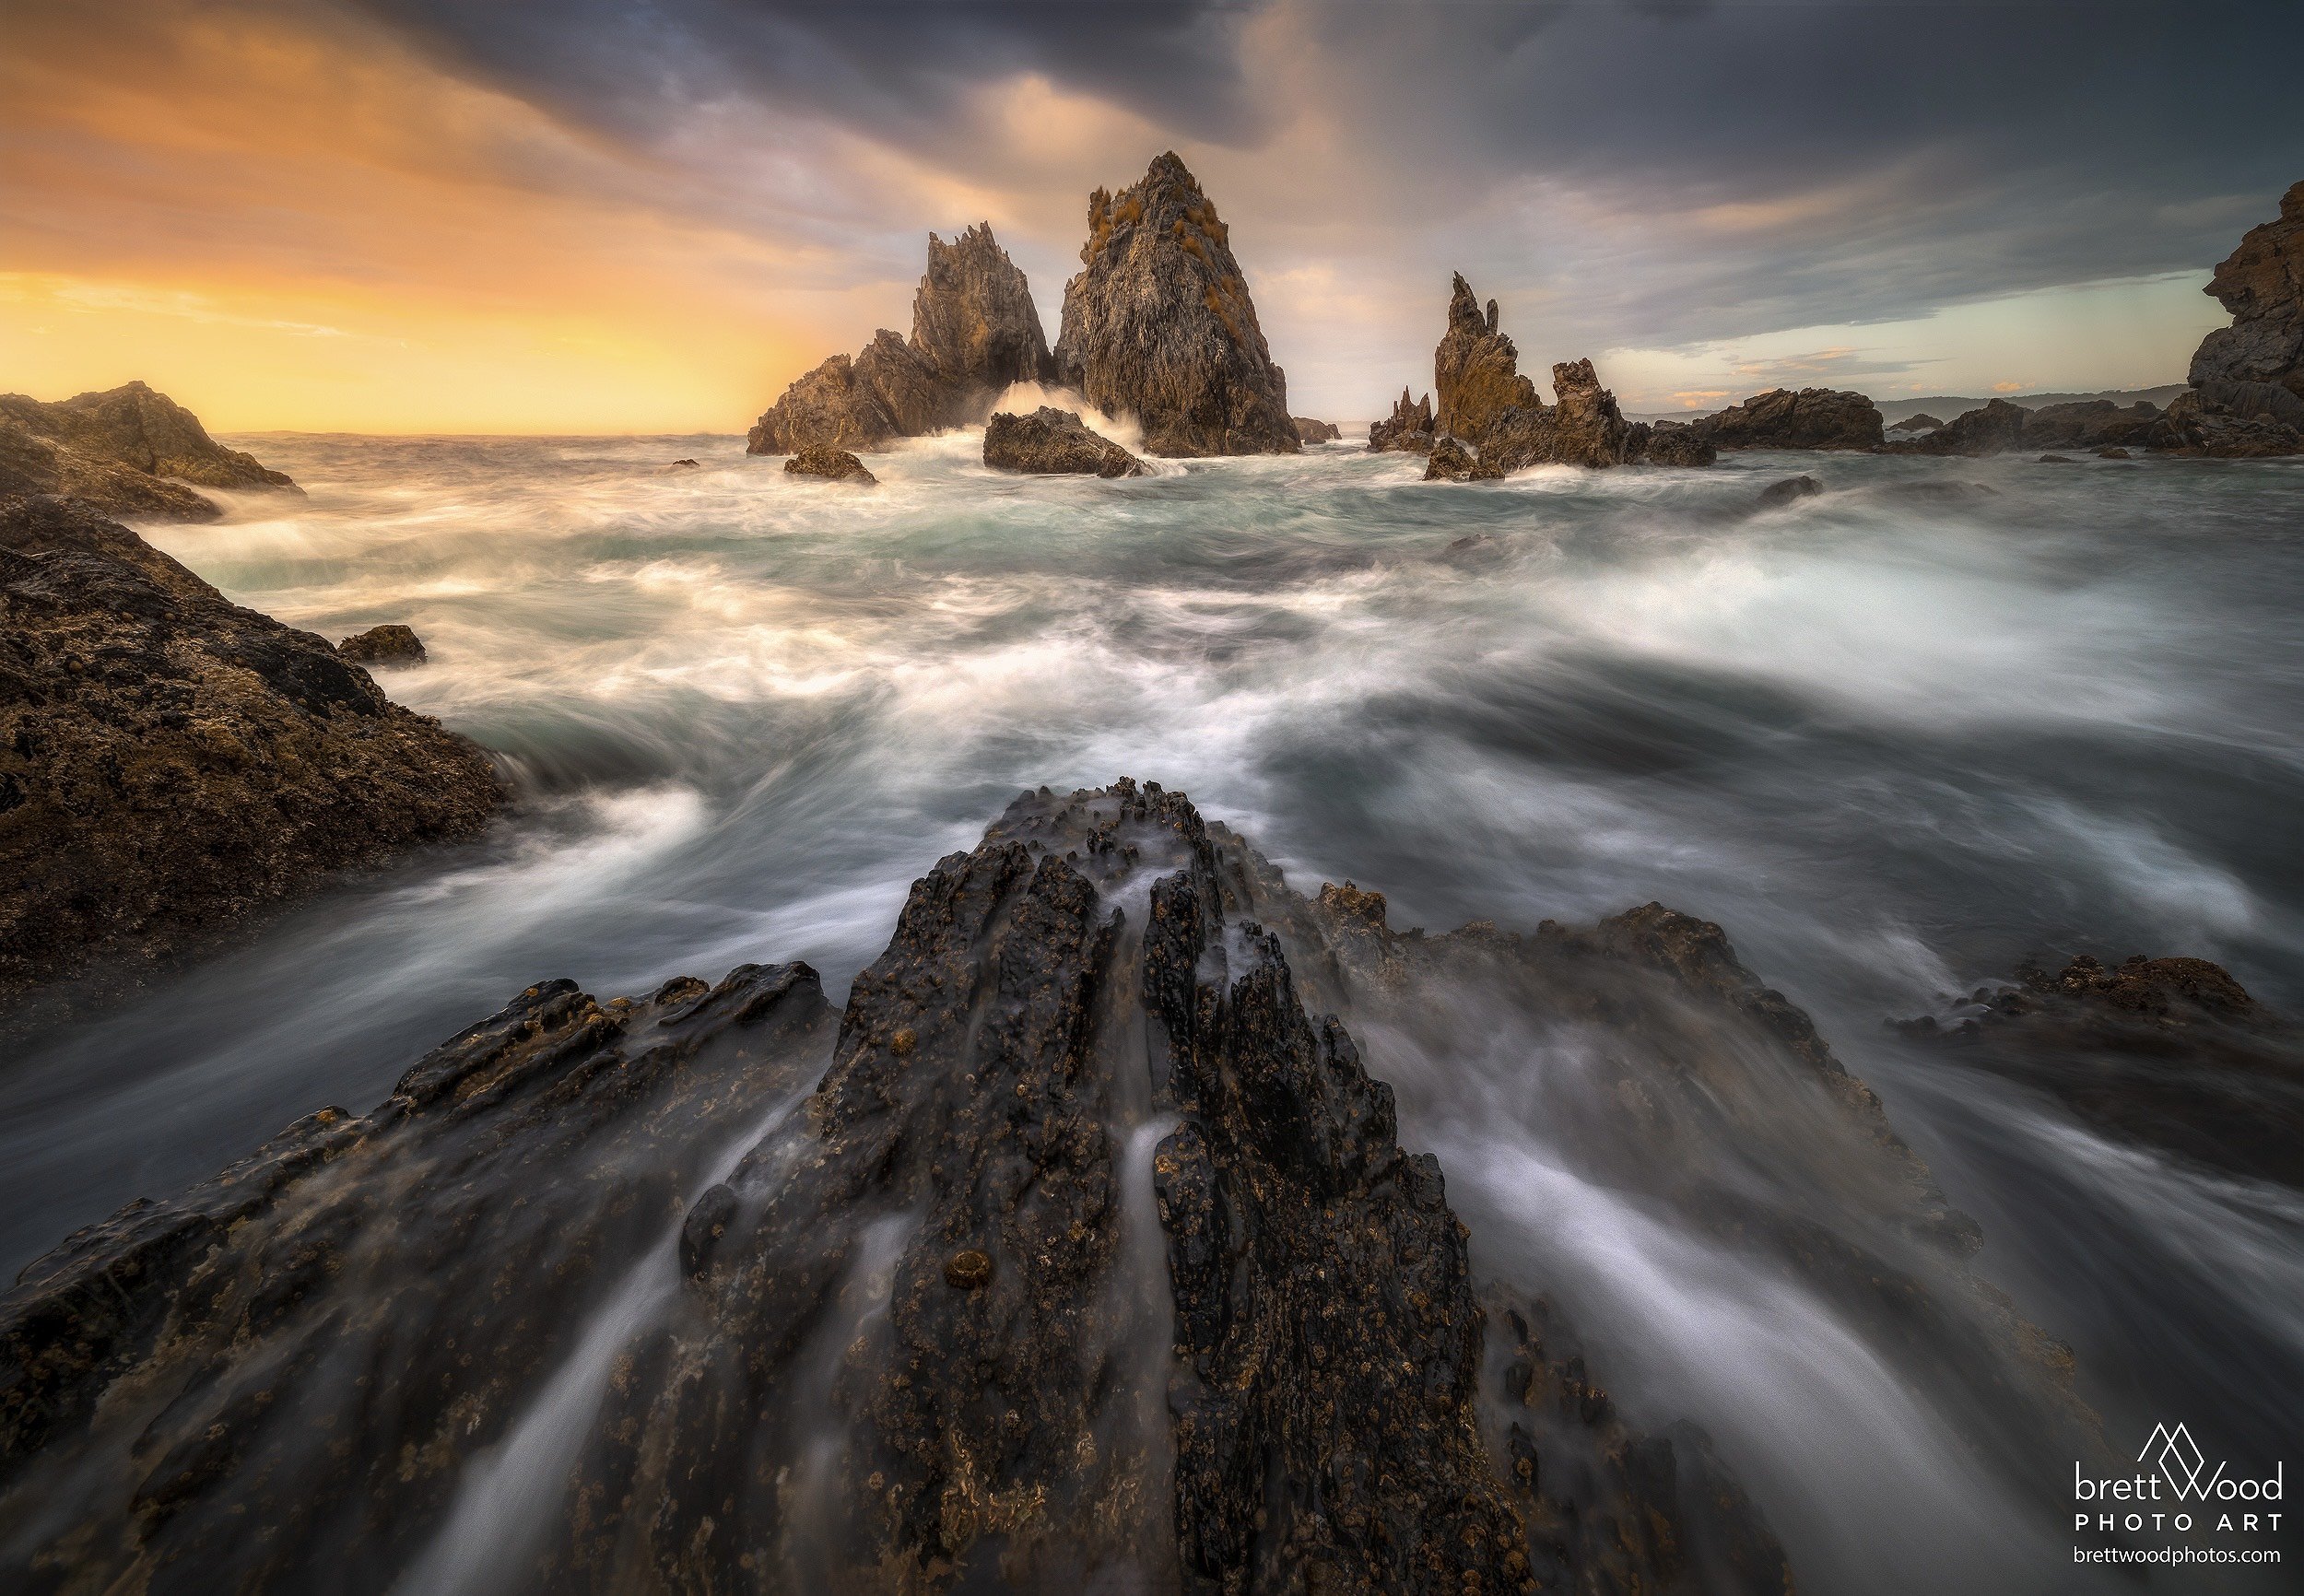
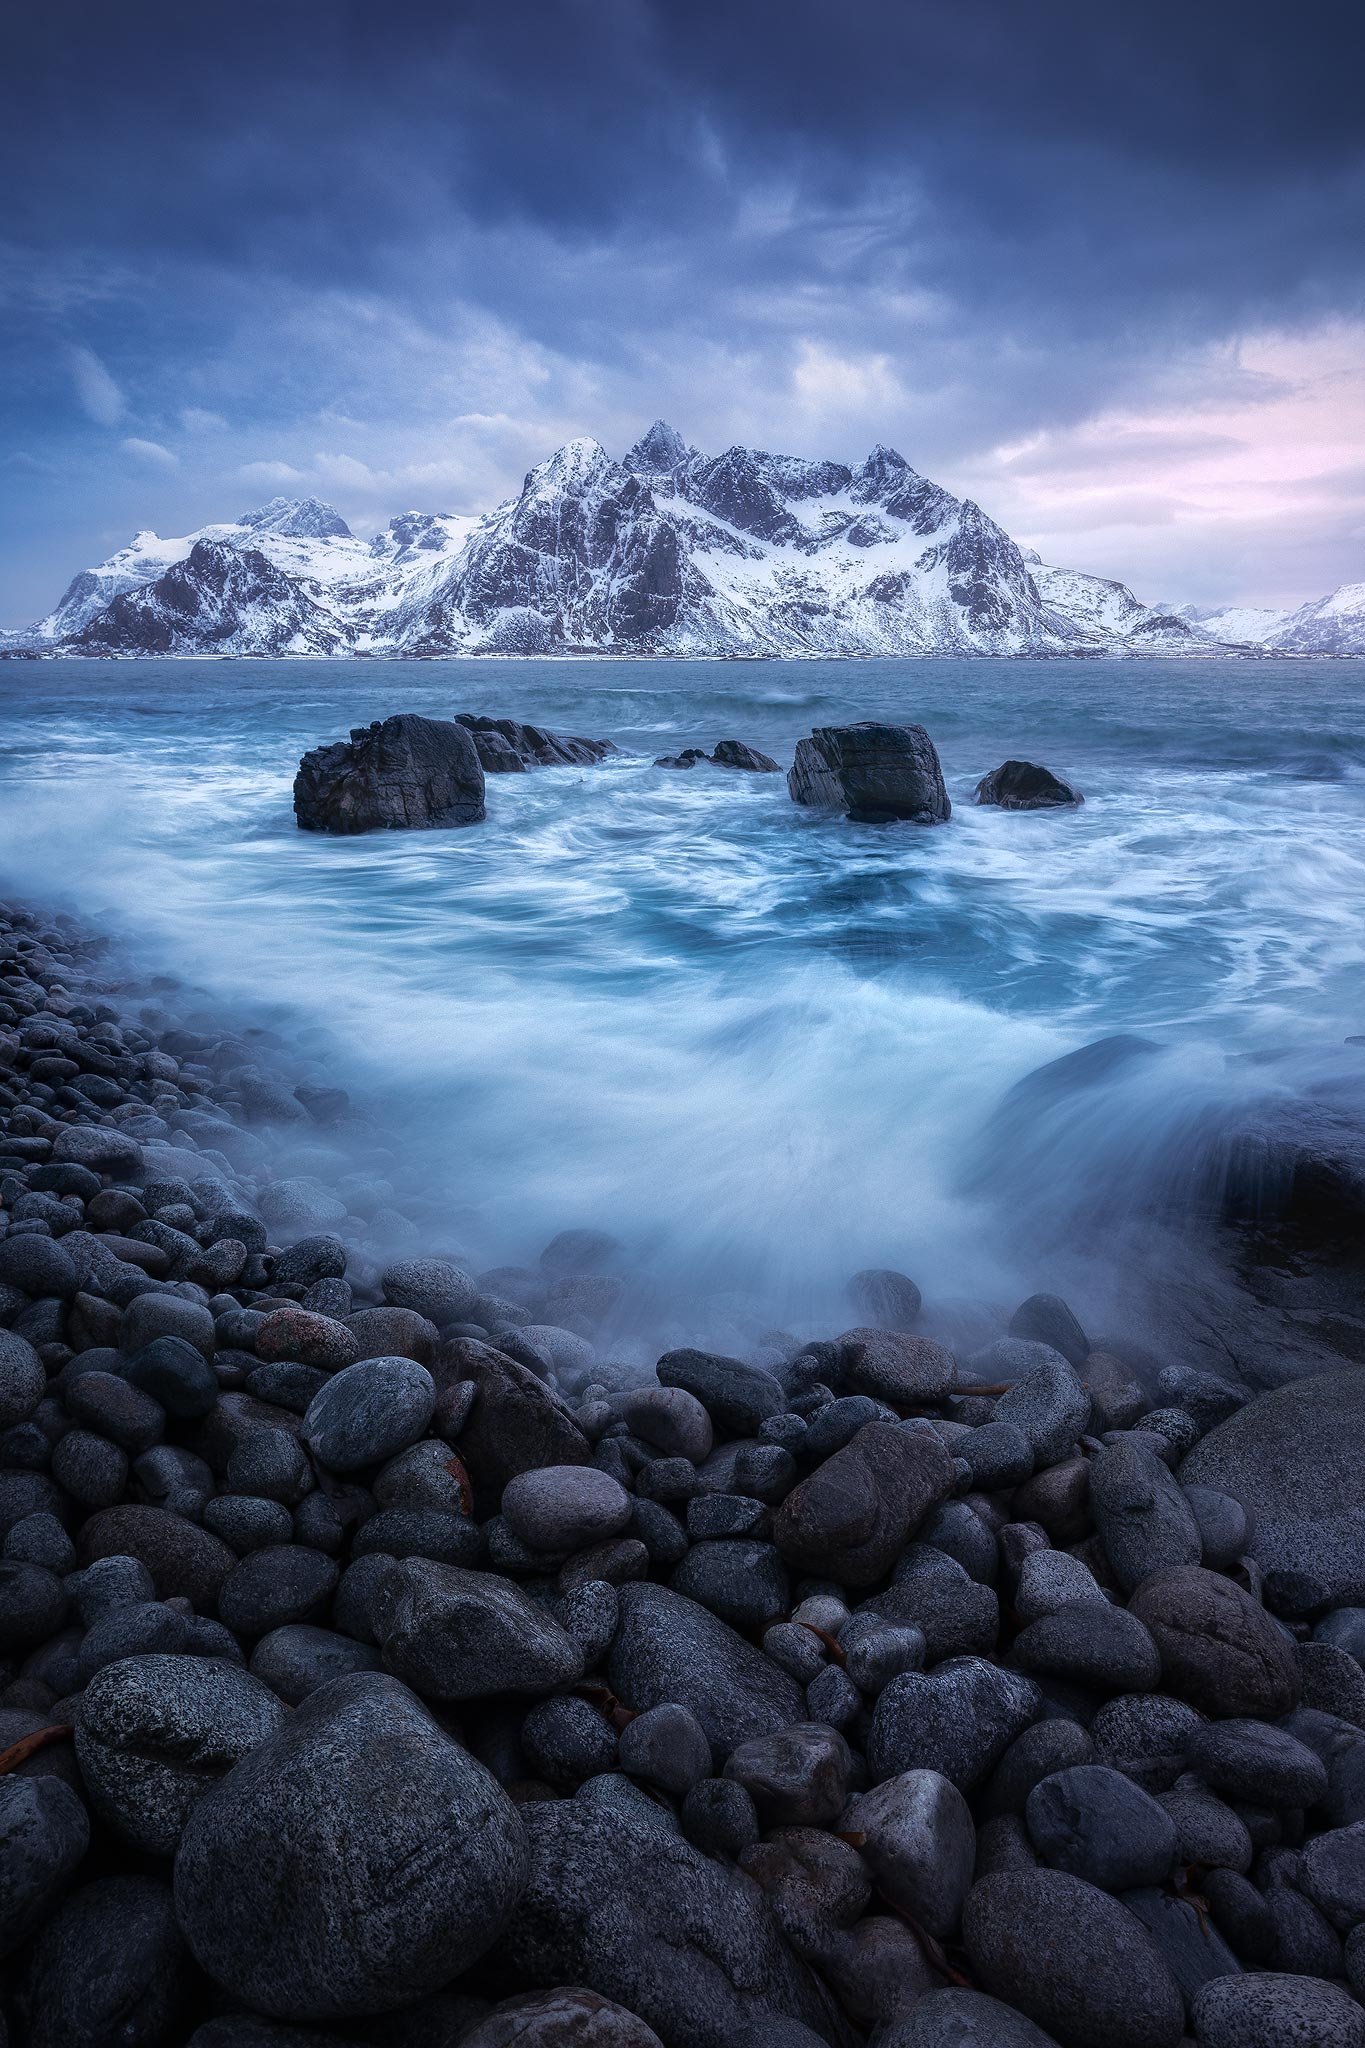
Seascape photography has always been a passion of mine. There's something magical about capturing the endless horizon, the dynamic waves, and the ever-changing light. Whether you're a beginner or an experienced photographer, having a few essential tips up your sleeve can transform your photos into stunning works of art.
Using the right equipment is crucial. A sturdy tripod helps stabilise your camera against the relentless sea breeze and unpredictable wave flows. Also, selecting the appropriate shutter speed can blur the water for a dreamy effect or freeze the motion of the waves for a dramatic, detailed shot. Remember, neither option is inherently better; it all depends on what fits your creative vision.
Composition is key in seascape photography. Pay attention to all the elements around you, like rock pools, water flows, and sand & rock textures, to tell a more engaging story. The light during sunrise and sunset provides incredible opportunities to capture unique and breathtaking images. It's all about finding the perfect balance and perspective to draw viewers into your scene.
Key Seascapes Tips
● Use a sturdy tripod to stabilise your camera.
● Choose the right shutter speed for your creative vision.
● Pay attention to composition and use the natural light.
Planning Your Seascape Photography Shoot
When planning a seascape photography shoot, it's crucial to consider factors like tides, weather, and the time of day. These elements all influence the final outcome of your photos.
Understanding Tides and Weather Patterns
Before heading out, I always check the tides. High tide can bring the waves crashing against the rocks, making for dramatic shots. Low tide, on the other hand, reveals a lot more foreground details like fascinating rock pools, rock patterns & sand patterns that are otherwise hidden.
Weather is equally important. Overcast skies can create moody, atmospheric images, while clear blue skies can still work for sun stars or black & white. I also keep an eye on stormy weather & big swells which can add a super dramatic feel but requires caution and respect for the ocean.
Scouting the Location
Scouting the location beforehand is beneficial. I usually arrive early or even a day before to check out the best spots. Look for interesting rock formations, seastacks, or unique coastal features. It helps if you speak to locals, as they often know the best spots that aren't crowded with tourists.
Using apps like Google Earth or TPE (The Photographer's Ephemeris) can help plan the shoot by giving you a bird's-eye view of the area. Mark potential spots and compose in your mind before the scheduled shoot.
Choosing the Right Time of Day
The time of day can make or break a seascape photograph. Sunrise and sunset, known as the Golden Hour, provide soft, golden light that enhances the scene. Shooting during Blue Hour, which is the period just before sunrise and after sunset, can also yield stunning results with a cool-toned, serene feel.
I prefer to arrive well before these times to set up my gear and experiment with different compositions. This allows me to take full advantage & be ready for the fleeting, beautiful light. If you plan your shoot around these times, you will likely capture the best possible images.
Selecting Appropriate Camera Gear
Start with a wide-angle lens for your seascape photography. This is definitely my go-to lens, I use the Canon 15-35mm This lens captures more of the scene and provides a dynamic perspective & impactful foreground. I recommend wide angle lenses like the 16-35mm which offer versatility.
A sturdy tripod is crucial. Waves and windy conditions can shake your camera. Invest in a heavy-duty tripod that can withstand harsh environments. Explorer & Sirui are good brands to consider. (I’m an ambassador & re-seller for both these brands).
Also, carry a cleaning kit. Seawater can leave salt deposits on your equipment. Keeping lenses and the camera sensor clean is essential for crystal-clear shots.
I use the Sea to Summit Tek Towel for wiping clean my gear.
Optimising Camera Settings for Seascapes
Set your camera's ISO to 100 or the lowest iso native to prevent noise. Use a small aperture (high f-number) like f/8 to f/16 to increase the depth of field. This ensures that both the foreground and background are sharp. My go to aperture is f/11.
Adjust the shutter speed based on the effect you want. For silky smooth milky water, use a slow shutter speed (anything longer than 2 seconds). Use a super fast shutter speed (1/500 - 1/1500th) for freezing wave motion.
My favourite shutter speeds for seascapes are ½, ¼, ⅙, & 1/8th of a second, i call this pattern 2-4-6-8. Experiment with all of these to find the one you like the most.
I enjoy the look of some water movement but still retaining some texture in the water at the same time.
Use manual mode to have full control over all settings. This control ensures consistency and precision in your shots. Remember to experiment and find what works best for the scene.
Sometimes dialing in the desired aperture & shutter speed & then setting your ISO to auto can also work well.
Utilising Filters for Enhanced Images
Using filters can significantly improve the quality of your seascape photos. A neutral density (ND) filter helps control exposure in bright conditions. It allows for longer shutter speeds without overexposing the image, ideal for capturing smooth silky water effects.
Polarising filters reduce reflections from the water and enhance the colours of the sky and sea. They're particularly useful during sunny days or areas of glare such as rock pools or wet rocks when glare can be an issue.
To get the best results, combine these filters where necessary. Ensure your filters are clean and free of smudges to avoid unwanted image artefacts. I use & highly recommend the brand NiSi Filters. (I’m also an ambassador & re-seller for NiSi Filters).
Composition and Technique
When photographing seascapes, focusing on composition and technique can transform your images from ordinary to extraordinary. From mastering the basic elements of art to advanced techniques like long exposure, each aspect plays a critical role.
Mastering the Art of Composition
The rule of thirds or even quarters can be a good starting point in seascape photography. Imagine your frame split into three or four vertical and horizontal sections. (Turn on the on-screen grid display in your camera settings to help with balancing out your scene) Place your horizon along one of these lines for a balanced image. Leading lines—like a row of rocks or a pattern in the sand—guide the viewer's eye towards the main subject.
Depth of field is equally important. Use a smaller aperture (higher f-stop number) to keep everything from the foreground to the distant horizon in sharp focus & focus approx ⅓ of the way into the scene. Positioning elements like water pools, reflections, rocks & sand patterns in the foreground adds depth and interest. You can create a more engaging and harmonious image by focusing on these compositional elements.
Implementing Long Exposure Techniques
Long exposure is perfect for capturing the movement in water and waves, giving a smooth, ethereal easy to look at look. To achieve this, use a tripod to keep your camera steady and avoid any blur from camera shake. Choose a low ISO setting and a small aperture to allow for longer exposure times without overexposing your shot.
A 6 or 10 stop neutral density (ND) filter is essential for controlling light during long exposures, especially in bright conditions. It lets you use slower shutter speeds to capture movement in the water, creating a misty effect. Experiment with different exposure times to see how they influence the look of moving water.
Capturing Movement and Texture
While long exposure creates a soft dreamy effect, faster shutter speeds are necessary to freeze motion and capture texture in the water. Aim to shoot at dawn or dusk when the light is softer, coupled with a faster shutter speed to capture the details of crashing waves and splashing water.
Textures like ripples in the sand or the rough surfaces of rocks add a tactile quality to your images. Use a wide-angle lens to capture more of the scene and include these elements. Pay attention to how the water, waves, and different elements interact for a richer, more dynamic composition.
By combining these techniques, you can create seascapes that are not only visually striking but also emotionally captivating.
Editing for Sharpness, Contrast and Mood
Post-processing is a key element to making your seascape photos stand out. I use editing software like Adobe Camera RAW or Photoshop to enhance these elements and evoke the desired mood.
Start by adjusting the exposure and contrast to reveal details in the highlights and shadows. Boost the texture setting to make textures pop, especially in wet rocks and tide pools.
For mood, consider tweaking the white balance. A warmer tone can make sunsets look rich and inviting, while cooler shades work well for dawn and overcast scenes.
I often use the various masking tools such as linear gradient, radial filter & sky selctions to darken the sky slightly, which can help create a balanced composition by keeping the viewer's focus on the waves and strong focal features.
Ensuring Safety While on Location
Safety is paramount when shooting by the sea. Always be aware of your surroundings and the changing conditions of the water.
Check the tides before you go out. Rising tides can trap you in dangerous spots like tide pools. Slippery, wet rocks pose a serious slipping risk, so wear non-slip shoes and always test stability with your feet.
Another crucial tip is never to turn your back on the ocean. Sudden, larger waves can appear out of nowhere, potentially sweeping you off your feet and damaging your gear. Always watch many wave sets before you advance forward. Have a healthy respect for the ocean.
If possible, shoot with a friend. This not only adds to the safety but can also help carry equipment or lend a hand when you need it, not to mention the social interaction & coffee afterwards.


